
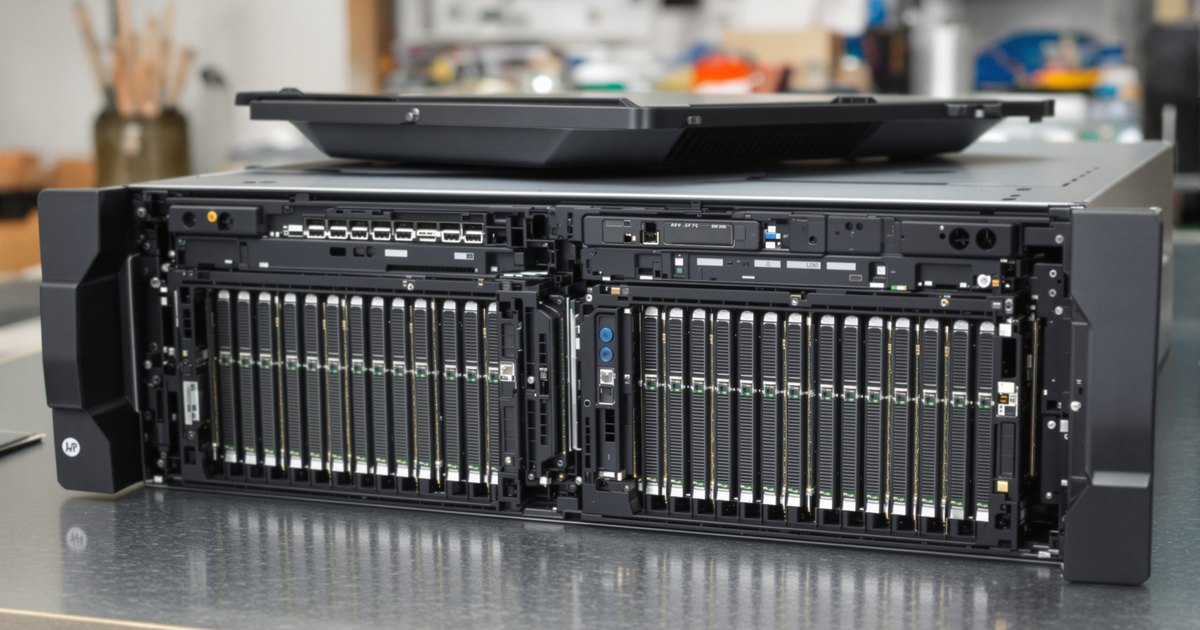
Adding memory to a Dell PowerEdge server takes about fifteen minutes with the cover off. The part that decides whether the server boots cleanly and runs at full speed is the population plan: which sockets you fill, in what order, and with which modules. This guide covers the memory each recent PowerEdge generation takes, the population rules Dell publishes for them, and the install steps from start to finish.
Which memory does your PowerEdge take?
Every current PowerEdge rack and tower server uses ECC registered memory. The generation sets the type and speed. 14th generation Intel servers take DDR4 RDIMM or LRDIMM up to 2933 MT/s, 15th generation servers take DDR4-3200, and 16th generation servers take DDR5 RDIMM. Find your model below, then check the rules for its generation.
| Generation | Examples | Memory | Channels per CPU | Population notes |
|---|---|---|---|---|
| 14th gen (Intel) | R640, R740 | DDR4 RDIMM or LRDIMM, up to 2933 MT/s | 6 (2 sockets each, A1 to A12) | No RDIMM and LRDIMM mix. Up to 2 capacities, largest in the white sockets. 2933 MT/s only at one DIMM per channel. Both CPUs identical. |
| 15th gen (Intel) | R650, R750 | DDR4-3200 RDIMM or LRDIMM | 8 (2 sockets each, A1 to A16) | Valid counts per CPU: 1, 2, 4, 6, 8, 12 or 16. Up to 2 capacities. Processor 1 and 2 population should match. |
| 16th gen (Intel) | R660, R760 | DDR5 RDIMM, 4800 to 6400 MT/s at one per channel, 4400 at two | 8 (2 sockets each) | No mixing of capacities, x4 with x8, or 3DS with non-3DS. At least one DIMM per installed CPU. |
| 16th gen (AMD) | R6625, R7625 | DDR5-4800 RDIMM (6400 modules run at 4800) | 12 (1 socket each, A1 to A12) | One DIMM per channel. Fill channels evenly on both CPUs. |
The table summarizes Dell's Installation and Service Manuals for the R740, R750, R760 and R7625. Other models in the same generation follow the same rules, with different socket counts. For the full model list, see the Dell PowerEdge memory upgrade guide.
Dell's population rules in plain terms
- White tabs first. Each channel has a socket with a white release tab and, on two-DIMM-per-channel boards, one with a black tab. Fill all the white sockets before any black ones.
- Balance the processors. On a two-processor server, install the same modules in the same sockets on both processors. Dell states that processor 1 and processor 2 configurations should match.
- Fill channels evenly. One identical module in every channel gives full memory bandwidth: 6 per processor on the R740, 8 on the R750 and R760, 12 on the R7625. Unbalanced layouts cost performance, and Dell warns the system may not identify the modules.
- Do not mix module types. RDIMM and LRDIMM never mix. On DDR5 16th generation Intel servers, keep capacity, data width (x4 or x8) and 3DS identical across the server.
- Speed follows the slowest module. Mixed speeds run at the slowest module's speed, and two DIMMs per channel run slower than one.
Dell's manuals warn that an invalid configuration may fail to boot, stop responding during memory configuration, or run with less memory than installed. Plan the layout before you open the server.
Before you start
- Confirm the exact model and processor count on the service tag or in iDRAC.
- Order matched modules for the configuration you planned, one kit per processor on dual-socket servers.
- Update the BIOS and iDRAC firmware if they are behind. Dell lists firmware updates as a first step for memory issues.
- Have an antistatic wrist strap and mat ready, and plan a maintenance window: the first boot after the change runs memory training.
How to install memory in a Dell PowerEdge server
Step 1: Check the current memory
Open iDRAC and go to System, Overview, Memory, or press F2 at boot and open System BIOS, Memory Settings. Note the System Memory Size and which sockets are filled.
Step 2: Shut down and remove power
Shut the server down from the operating system, power off attached peripherals, and disconnect every power cord. If the server is in a rack, slide it out or remove it before you open it.
Step 3: Open the cover and remove the air shroud
Wear an antistatic wrist strap and work on an antistatic mat. Remove the system cover, then lift the air shroud out by gripping it at both ends. If full-length PCIe or GPU cards sit over the shroud, remove them first. Dell warns never to run the server with the air shroud removed, so keep it nearby for reassembly.
Step 4: Plan the sockets
Find the memory socket labels on the board (A1, A2 and so on for processor 1, B1, B2 for processor 2). Fill the sockets with white release tabs first, then the black ones, and follow the population rules for your generation in the table above.
Step 5: Open the ejectors and seat the module
Make sure both ejector latches on the socket are fully open. Hold the module by its edges only. Line up the notch on the module with the alignment key in the socket, which allows only one orientation. Press both ends down at the same time, with your thumbs on the ends rather than the center, until the ejectors close with a click.
Step 6: Check the seating
A seated module has its ejector levers lined up with the levers on the other filled sockets. If one sits higher, press it home again rather than forcing the ejectors closed.
Step 7: Reassemble and power on
Refit the air shroud and the cover, slide the server back into the rack, reconnect the power cords and power on.
Step 8: Confirm the new total
The first boot after a memory change takes longer, because the BIOS retrains the memory (see below). Then check System Memory Size in F2, System BIOS, Memory Settings, or in iDRAC under System, Overview, Memory. If the total is short, reseat the modules before anything else.
The first boot after a memory change
PowerEdge BIOS keeps memory training data so that normal boots are fast. When the memory configuration changes, the BIOS sets Retrain at Next Boot automatically and runs a full training pass once, so the first power-on takes noticeably longer. Let it finish. The same Memory Settings screen shows System Memory Size, Type and Speed, and the Correctable Error Logging option, which is on by default.
To test the new modules, press F10 to open Lifecycle Controller and run Hardware Diagnostics. Its memory test exercises every installed module. If the server shows less memory than installed, or logs a memory message, follow our PowerEdge memory troubleshooting guide.
Find memory for your PowerEdge
- Dell PowerEdge server memory and PowerEdge rack server memory, every PowerEdge listing.
- Examples: PowerEdge R740 DDR4 RDIMM, R750 DDR4-3200 RDIMM, R760 DDR5 RDIMM and R7625 DDR5 RDIMM.
- By type: DDR4 RDIMM, DDR5 RDIMM and LRDIMM.
- Dell part numbers and more: the Dell memory hub.
Frequently asked questions
Which Dell PowerEdge memory sockets do I fill first?
Fill the sockets with white release tabs first, then the black ones, starting at A1 for processor 1 and B1 for processor 2. Dell documents this order for 14th, 15th and 16th generation servers.
Can I mix RDIMM and LRDIMM in a PowerEdge server?
No. Dell does not support mixing RDIMM and LRDIMM. On 16th generation DDR5 servers such as the R760, Dell also rules out mixing capacities, x4 with x8 modules, and 3DS with non-3DS modules.
Why does my PowerEdge take longer to boot after adding memory?
When the memory configuration changes, the BIOS sets Retrain at Next Boot and runs full memory training once. Later boots go back to the faster mode that reuses saved training data.
How many DIMMs should I install per processor?
Fill every memory channel once, with identical modules, for full bandwidth: 6 per processor on 14th generation Intel servers such as the R740, 8 on 15th and 16th generation Intel servers such as the R750 and R760, and 12 on the AMD R7625. Install the same configuration on both processors.
How do I check that the server sees the new memory?
Press F2 at boot and open System BIOS, Memory Settings, or open iDRAC and go to System, Overview, Memory. Both show the total installed memory.
What if the server does not boot after the upgrade?
Check the population rules first, then reseat the modules. Our PowerEdge memory troubleshooting guide covers the iDRAC messages and the steps Dell recommends.
Buying for more than one system
IT teams and integrators that maintain PowerEdge fleets can standardize on one kit per model. Request a quote with your models and quantities, or send us your system model and we will confirm the right module before you order.
Steps and rules are summarized from the vendors' published documentation; follow the guide for your exact model.